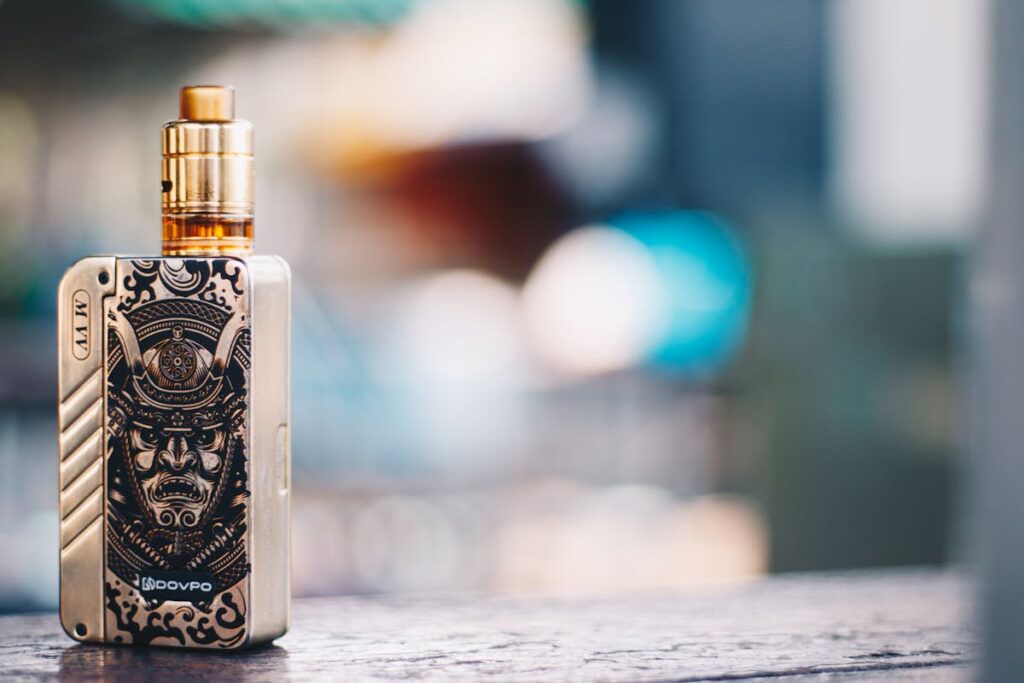
The difference between a vape that performs beautifully for eighteen months and one that tastes burnt after three weeks is almost entirely down to maintenance. E-cigarettes are precision instruments – they heat liquid to exact temperatures through complex electrical circuits – and like all precision instruments, they reward care with performance and punish neglect with failure. This guide covers every maintenance task you need to know, from the daily five-second rinse to the monthly deep clean, with particular attention to the battery safety practices that no one should skip.
Understanding What Goes Wrong
Before diving into procedures, it helps to understand the mechanisms of vape degradation. There are three primary failure modes: coil burnout, residue build-up and battery deterioration. Coil burnout occurs when the wicking material becomes saturated with carbonised residue (called ‘gunk’), overheats due to inadequate liquid flow, or simply reaches the end of its working life through repeated heating cycles. Residue build-up affects the tank, the airflow system and the connector pins between tank and device. Battery deterioration is governed by lithium chemistry and is accelerated by heat, overcharging and deep discharge.
Daily Maintenance: Two Minutes, Big Difference
The single most impactful daily habit is managing your liquid levels. Never allow the level to drop below the minimum fill line – the bottom of your coil must always be submerged in liquid. Running a tank dry, even briefly, causes ‘dry hits’: the cotton wick scorches before liquid can resaturate it, creating an acrid burnt taste and permanently damaging the coil. Once a coil has had a serious dry hit, it cannot be restored – it must be replaced.
Each time you refill, take thirty seconds to wipe down the outside of the tank with a dry cloth, paying attention to the base connection and the mouthpiece. Sticky liquid residue on the connector attracts dust and, over time, interferes with electrical contact. A quick wipe costs nothing and prevents a surprising number of ‘device not working’ scenarios.
Coil Care: Priming, Lifespan and Replacement
Priming a new coil is the most critical installation step that most beginners skip. Before first use, drop two or three drops of e-liquid directly into the visible cotton ports on the side of the coil. Fill the tank, then let it sit for five to ten minutes before taking a puff. This pre-saturates the wick, dramatically reducing the risk of a dry hit on the first draw. Skipping this step on a new coil is one of the single most common causes of premature coil failure.
Coil lifespan depends heavily on the liquid you use. High-sweetener liquids – common in dessert and candy flavours – contain sucralose or other sweeteners that caramelise on the coil surface, forming a thick dark residue known colloquially as ‘coil gunk’. This residue does not clean off; it accumulates until the coil is blocked and the flavour is ruined. If you vape primarily sweet liquids, expect coil life of one to two weeks. Unflavoured or lightly flavoured liquids can extend coil life to three to four weeks in MTL devices.
- Signs a coil needs replacing: burnt or muted flavour, reduced vapour production, visible dark residue on the cotton or wire, gurgling sounds, reduced throat hit at a given nicotine concentration.
- Signs you have a dry hit: sudden sharp burnt taste on an otherwise fresh coil – stop immediately, add liquid, wait five minutes before continuing.
Tank Cleaning: The Full Process
A full tank clean should be done every time you change to a significantly different flavour (to prevent flavour ghosting), when you install a new coil, and as a monthly maintenance procedure. The process:
- Disassemble the tank completely: separate mouthpiece, glass, base, coil and any O-rings.
- Rinse all components except the coil under warm (not hot) running water. Avoid soap – residue is very difficult to remove and will taint your liquid.
- For stubborn residue, soak components in warm water for thirty minutes. Some vapers use a small amount of unflavoured vodka (which also acts as a mild solvent) followed by a water rinse.
- Allow all components to dry completely before reassembly – at least one hour. Residual water in the tank dilutes your liquid and can cause flooding and gurgling.
- Inspect O-rings for cracks, deformation or discolouration. Replacement O-rings are inexpensive and a cracked O-ring is a guaranteed liquid leak.
Battery Safety: The Non-Negotiable Section
Lithium-ion batteries power virtually all vaping devices, and while they are overwhelmingly safe when used correctly, they are chemical energy stores with specific failure modes that every vaper should understand. Battery thermal runaway – a cascading failure where heat causes chemical decomposition which generates more heat – is rare but real, and almost always caused by one of three factors: physical damage, incorrect charging, or using batteries outside their rated discharge capacity.
For devices with fixed internal batteries, the manufacturer has already paired the battery to the device’s power requirements. Your job is limited to charging correctly: use the supplied cable or a known-good USB-C cable, avoid charging overnight or unattended if possible, and stop using the device if it becomes unusually hot during charging or use. Heat during charging is normal to a degree – the outer casing should be warm, not hot to the touch.
For devices using removable 18650, 21700 or 26650 cells, the responsibility is greater. Use only cells from reputable manufacturers: Samsung (25R, 30Q), Sony (VTC5, VTC6), LG (HG2) and Molicel (P26A, P42A) are widely trusted in the vaping community. Avoid ‘rewrapped’ batteries from unknown brands on auction sites – these are frequently cells that have failed quality control, rewrapped and relabelled. The price difference is trivial compared to the risk.
Critical rule: Never carry loose 18650 cells in a pocket or bag with keys, coins or other metal objects. A short circuit between the positive terminal and a metal object can cause rapid heating and thermal runaway. Use a dedicated battery case – they cost under €2 and are not optional.
Connector and Device Maintenance
The 510 connector (the threaded connection point between a mod and its tank or atomiser) accumulates e-liquid over time, which degrades electrical contact and can cause connection errors. Clean it monthly with a cotton bud lightly moistened with isopropyl alcohol (IPA). The firing button and side buttons can also gum up with liquid residue – a quick IPA wipe will keep them responsive. Never submerge your device in liquid; most vaping devices are not waterproof despite what a ‘water-resistant’ marketing claim might suggest.
Building a Maintenance Schedule
Treat your vape like a kitchen appliance you use every day. Daily: check liquid levels, quick exterior wipe. Weekly: clean the mouthpiece thoroughly, check battery charge level. Monthly: full tank disassembly and clean, inspect O-rings, clean 510 connector, check battery wraps for damage. As needed: replace coils, replace O-rings, check USB port for debris. This level of care will extend device lifespan significantly and ensure consistent flavour and performance throughout.